Enhancing your space with Timberchic’s peel and stick wood wall planks is a straightforward and fulfilling DIY project. These planks offer a simple way to add a unique flair to any room. Here's a step-by-step guide to ensure a successful installation:
- Acclimate the Wood Planks
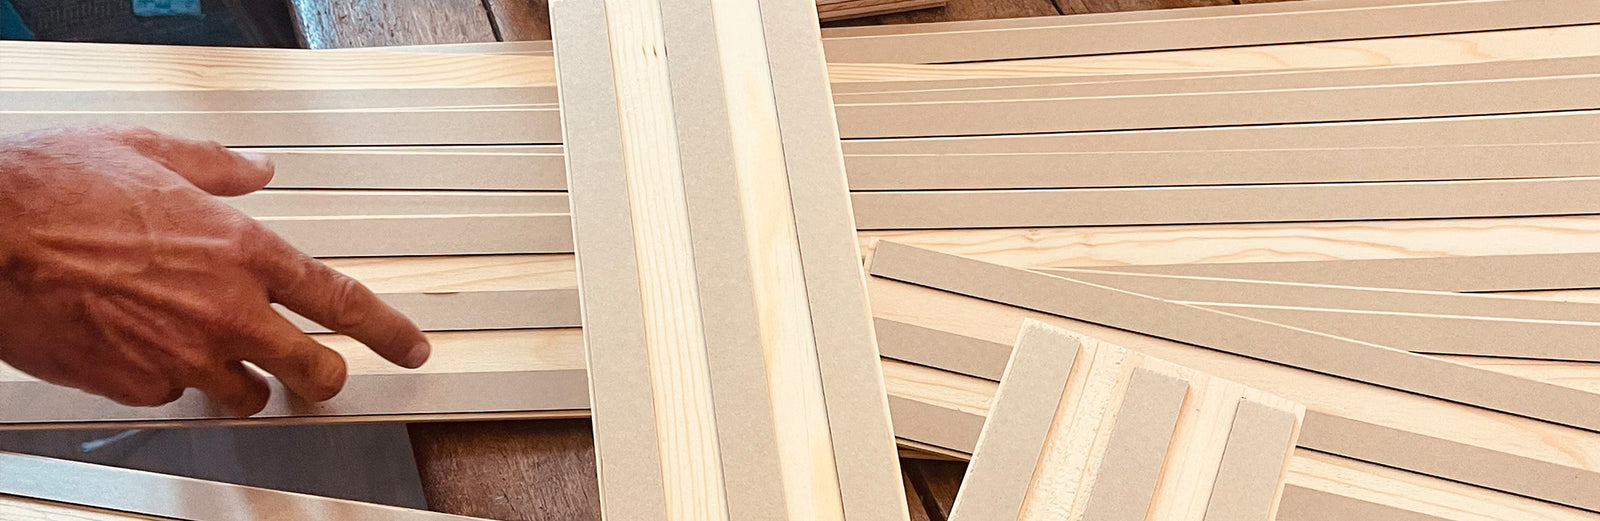
The first step is crucial. Upon receiving your Timberchic wood planks, remove them from the box and lay them out in the room where they will be installed. This allows the wood to acclimate to the room's temperature and humidity levels. Leave them for 48-72 hours to ensure they adjust properly, which helps prevent warping or gaps after installation.
- Gather Tools and Materials
Prepare your workspace by gathering all the necessary tools and materials. You’ll need:
- Timberchic peel and stick wood planks (now acclimated)
- Timberchic knot hole stickers
- A level
- A tape measure
- A saw (hand or miter saw)
- A pencil for marking
- A J-roller
- Prepare the Surface
Ensure the wall is clean, dry, and level. Remove any nails or screws. Clean the surface thoroughly with a mild cleaner to eliminate any dust or grease. A dry, clean and primed surface is considered to be best, but a plywood, tile, or cement substrate is also acceptable.
- Plan Your Layout
Before attaching the planks, make stacks of similar size planks. It is helpful to plan your layout on the floor. This helps visualize the pattern and color distribution. Pay attention to the wood grain direction for a cohesive look.
- Measure and Mark
Using a tape measure and level, draw a horizontal reference line on the wall. This line serves as a guide to keep the first row of planks straight and level. If your wall is square, it's usually best to start from the top and work down.
- Peeling and Sticking
Begin with the first plank. Peel off the backing to expose the 3M tape adhesive and align it with your reference line. Press the plank firmly against the wall and use a J-roller to ensure strong adhesion. For a uniform natural overall appearance place the provided knot hole stickers on the wall behind any open knots.
- Cutting the Planks
If necessary, cut the planks to size. Mark the plank where it needs to be trimmed, and use a saw for cutting.
- Continue the Installation
Continue placing each plank next to the previous one. Stagger the seams for an aesthetically pleasing and natural wood wall appearance. Measure and cut the planks as needed to fit around corners, outlets and to complete your row.
- Clean and Admire
Clean the wall with a dry cloth to remove dust. Now it’s time to admire your new Timberchic wood wall, a testament to your DIY skills and the room’s enhanced aesthetic.
Conclusion
Installing Timberchic’s peel and stick wood wall planks is an enjoyable and impactful project, transforming your room with a natural rustic and stylish look. Preparation, particularly allowing the wood to acclimate, and careful application are key to a successful installation. Your new wood wall will not only add warmth to your home but also serve as a focal point of beauty and craftsmanship for years to come.